Partial Teardown of the SafePal S1
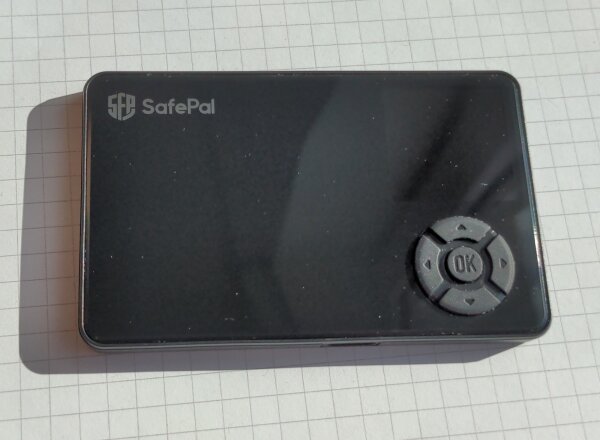
This article gives a quick look inside a SafePal S1 cryptocurrency hardware wallet (likely hardware revision V1.3).
Contents
Consulting
I’m a freelance Security Consultant and currently available for new projects. If you are looking for assistance to secure your projects or organization, contact me.
Teardown Impressions
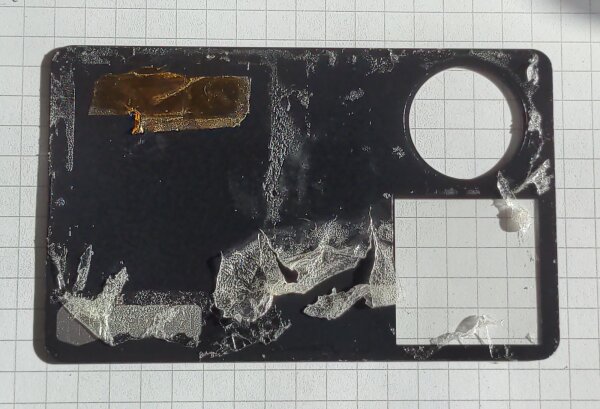
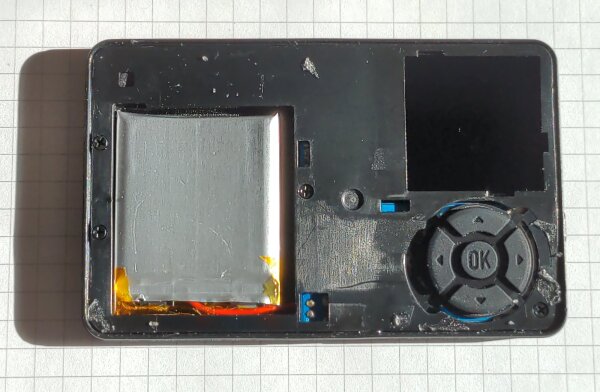
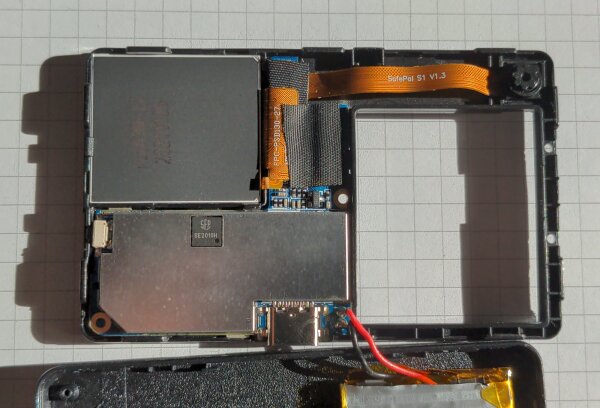
Clockwise: LCD backside, camera, space for the battery, USB-C connector, PCB RF-shield, custom
SE2010H chip, side button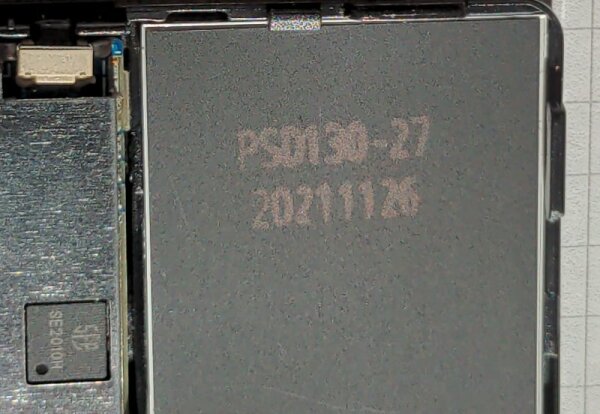
PSD130-27 which matches the FPC-PSD130-27 silkscreen on the flex PCB cable.Component likely manufactured
2021-11-26
Summary
This covers the basic components of the wallet, which helps understanding how it operates. The core electronics are located under a soldered RF shield and not yet visible, opening this up may follow at a later time. Notably, the wallet is still operational after the steps shown here, so it appears that there are no tamper detection sensors in this part of the hardware.